Here is a step-by-step explanation for installing the panels.
- You must ensure that the chosen support is suitable for the use you are going to make of it: smooth, clean, able to support the weight of the panels, etc.
- Before installation, you must prevent your panels from being curved. If they are slightly curved, you must:
- Lightly wet the back of the panel.
- Place the panel finished side down on a leveled surface.
- Distribute weight evenly (not excessive) on top, for 24 hours
Adbond Extreme adhesive
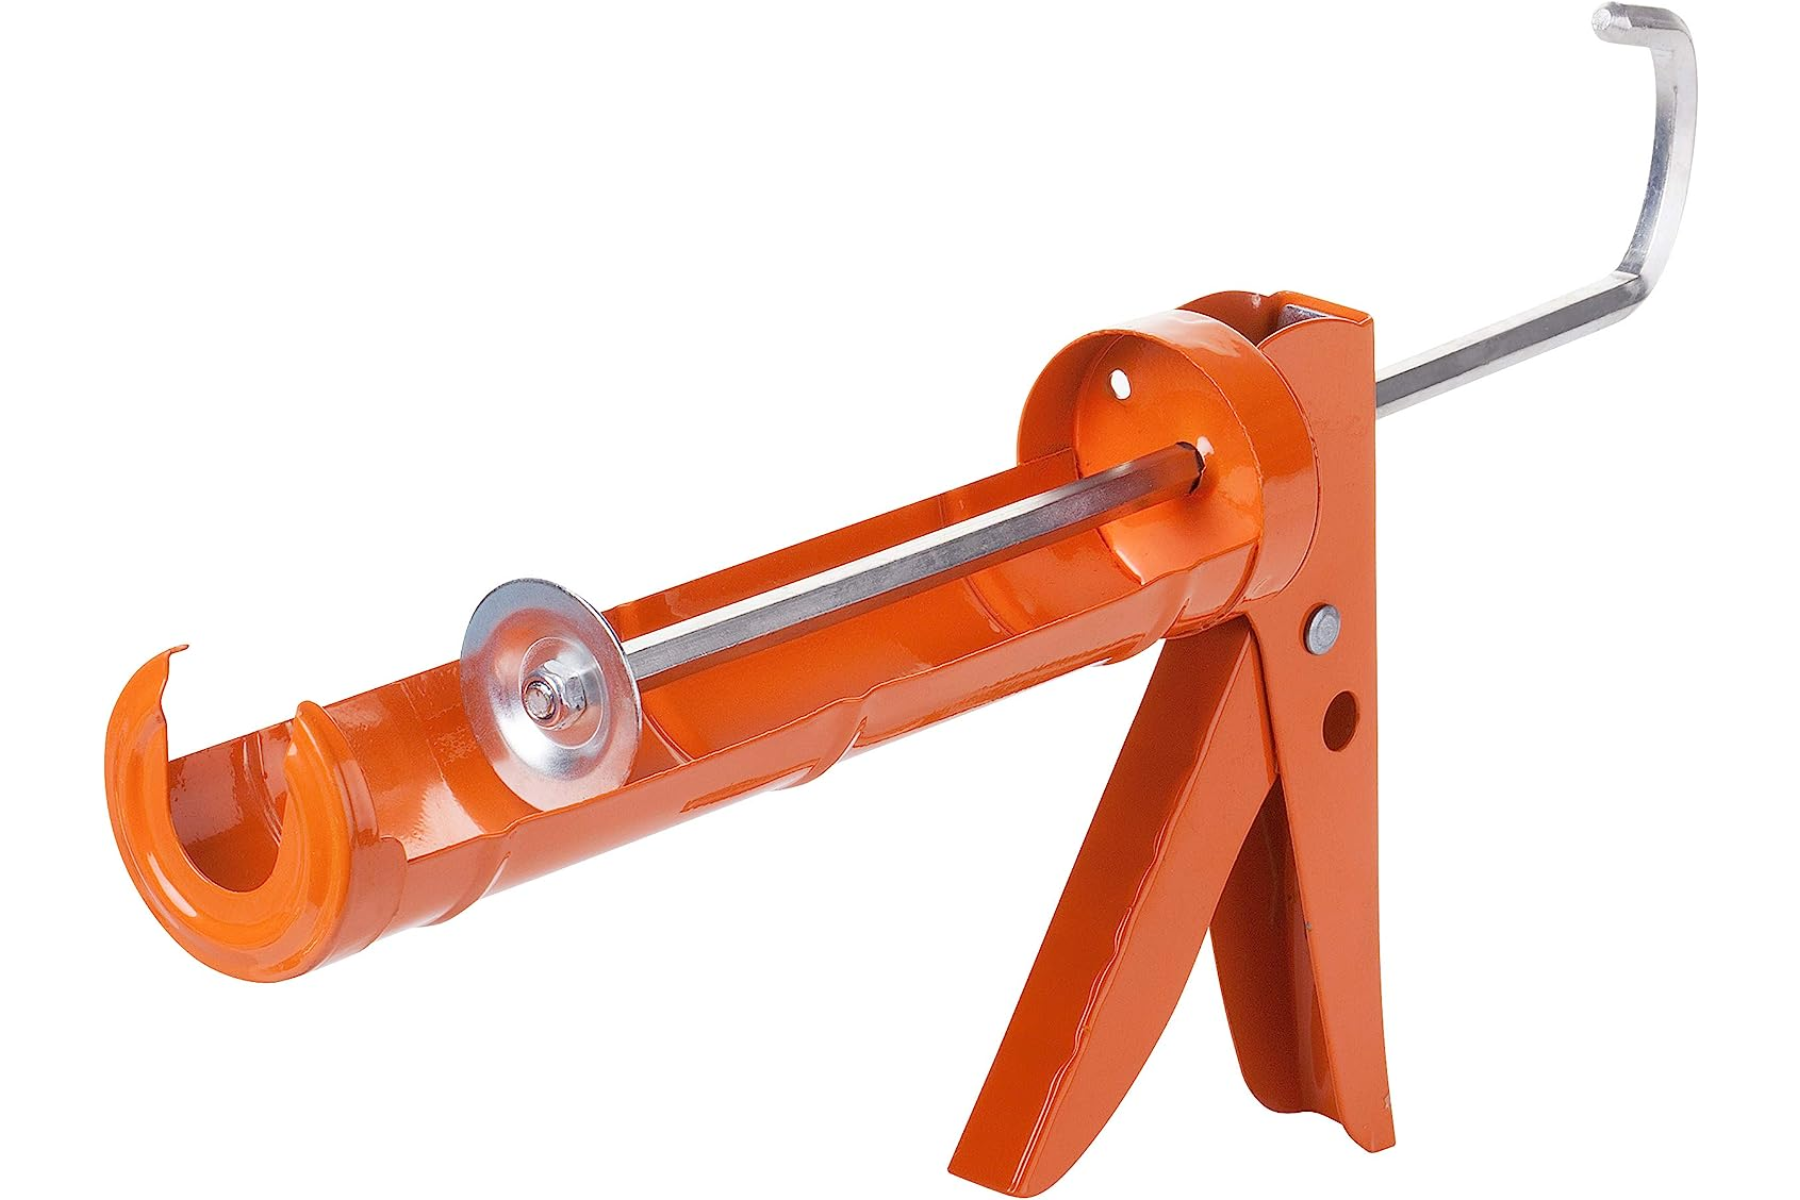
- Using a
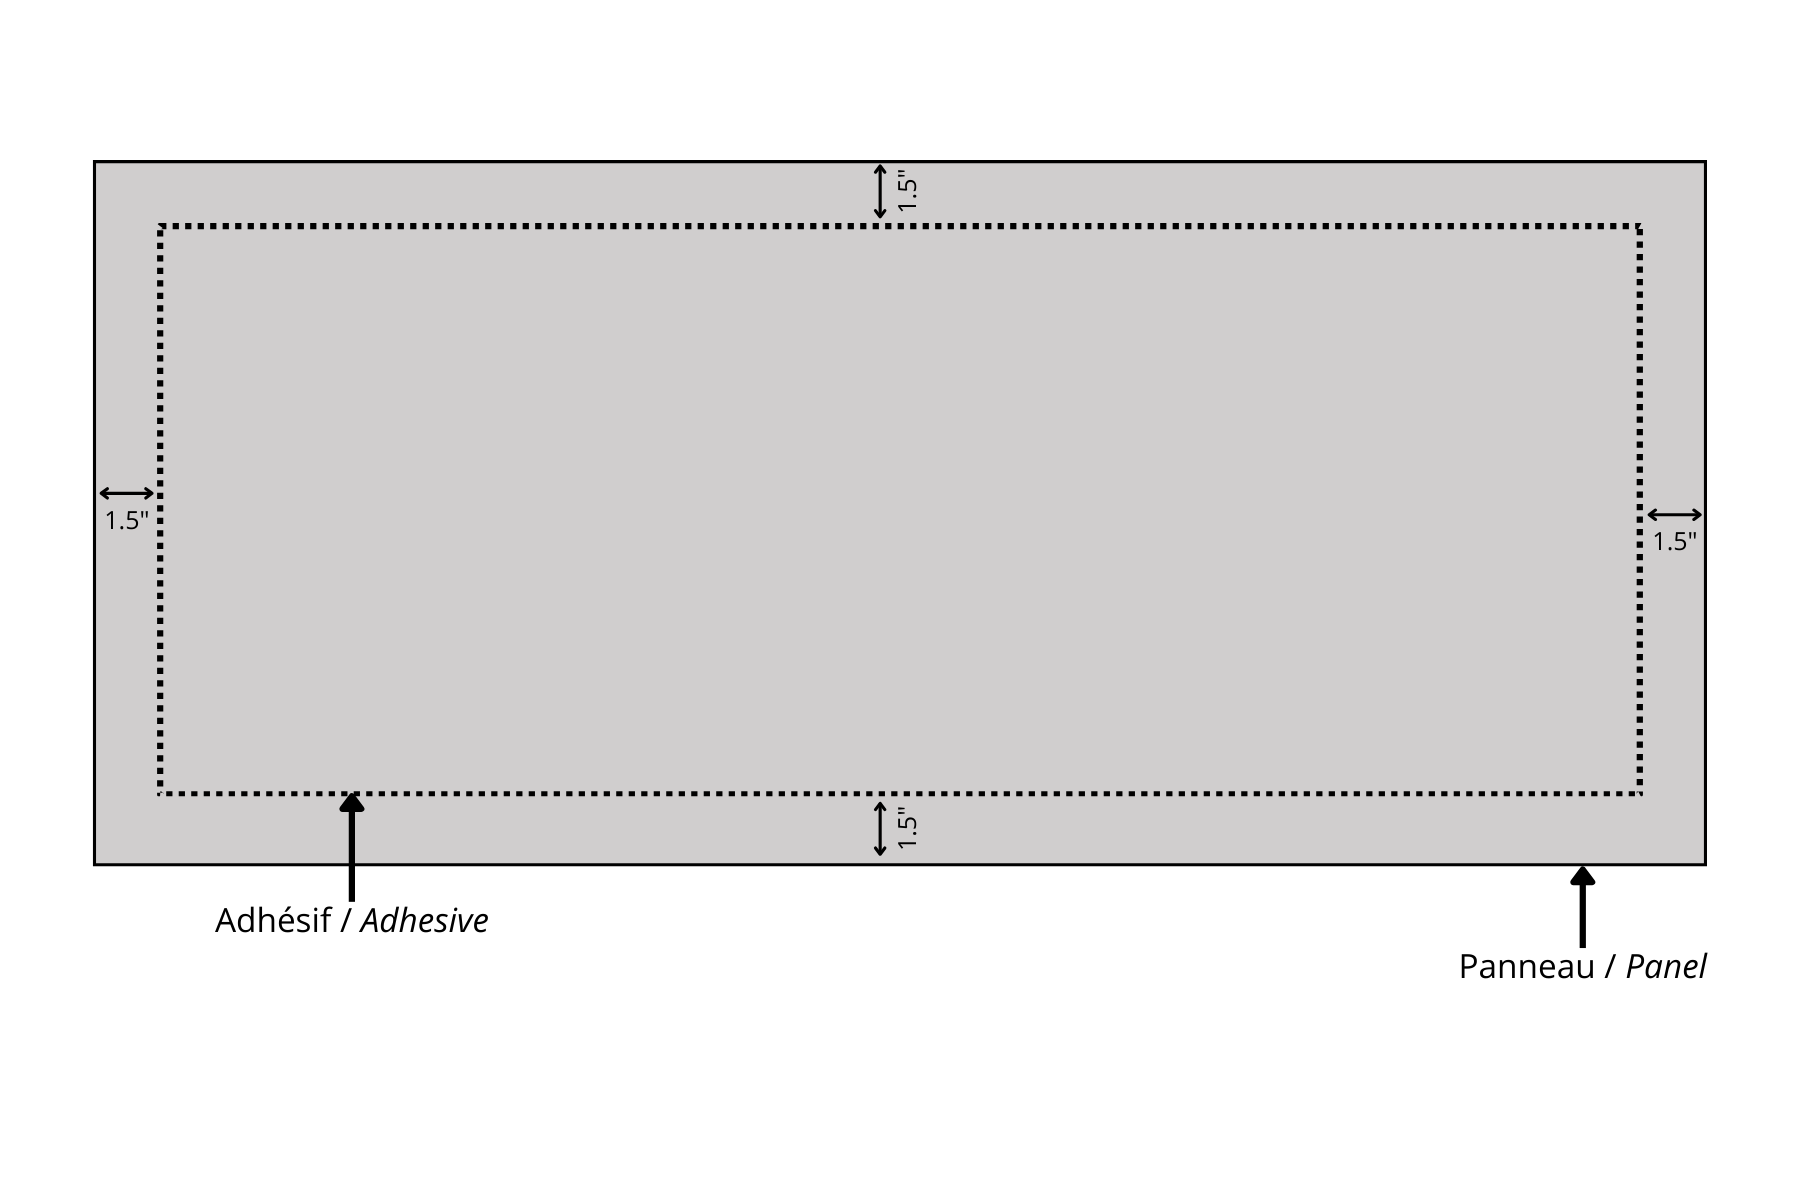
caulking gun, apply the adhesive around the entire edge of the panel at least
1.5" from the edge.
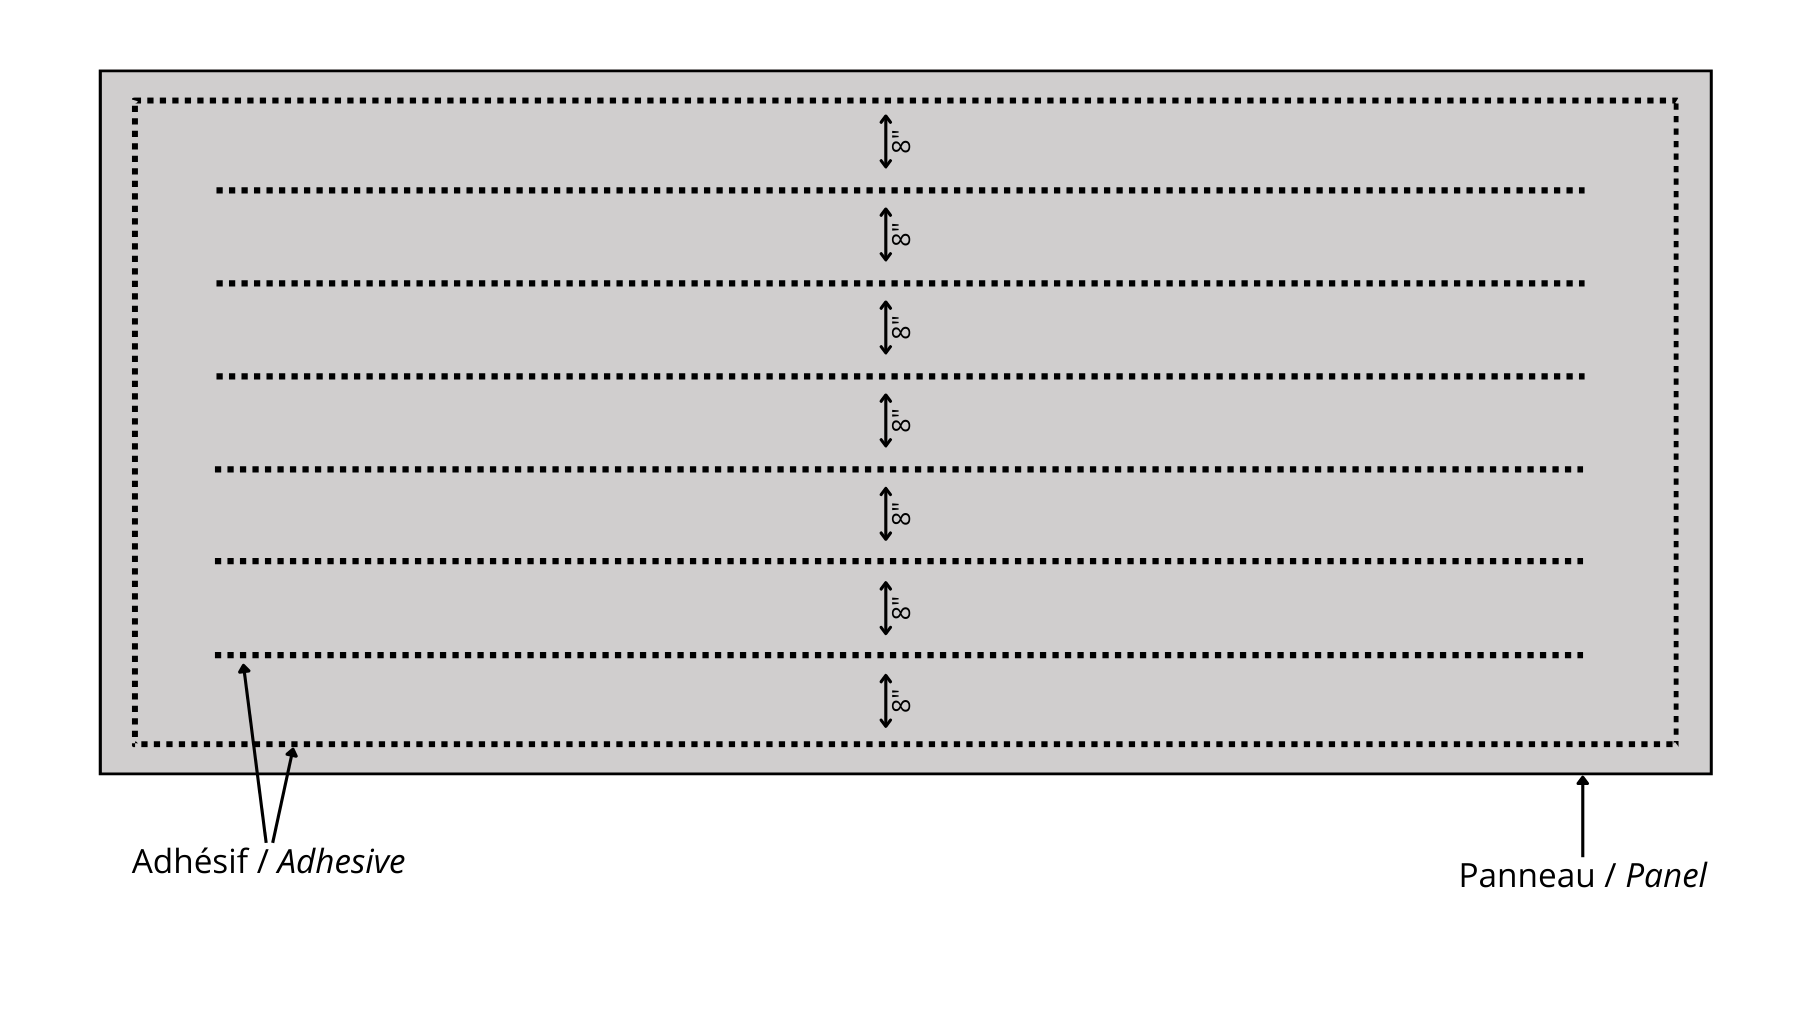
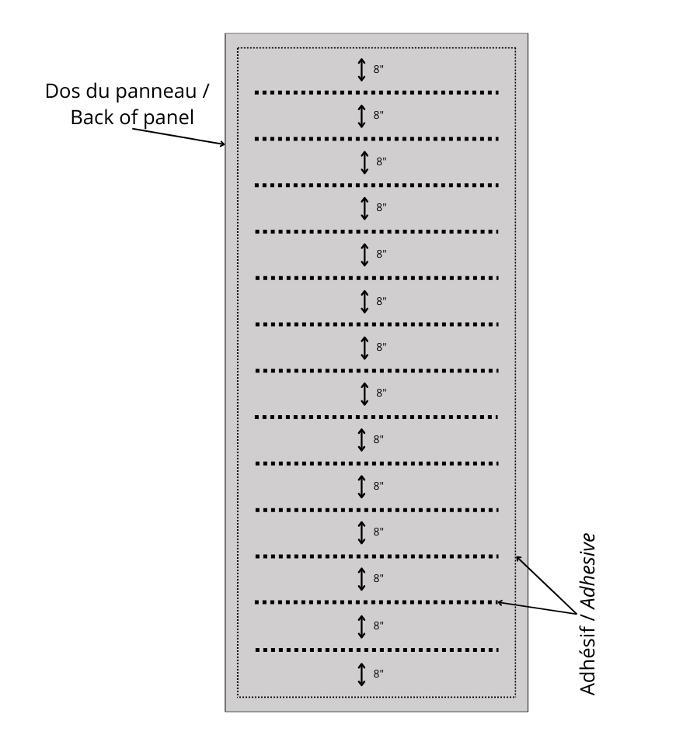
- Apply the adhesive to the inside of the panel in lines spaced ± 8".
Horizontal installation Vertical installation
3. Lay the panel on the surface starting from the bottom. Using the level, make sure the panel is straight. Then press it lightly, starting at the edges of the panel. Then apply pressure evenly over the entire surface of the panel.
4. Repeat steps 1 and 2 for the other panels, leaving a space of approximately 2mm between each panel.
Glue drying time under the conditions indicated by the manufacturer: 24 hours
It is essential to use one of these installation techniques to install large panels (from 24"x48").
These techniques are to be used in addition to gluing, to strengthen the hold of the panels while the adhesive dries (24 hours).
Screw (using self-drilling screws) the temporary support wedges into the joint spaces.
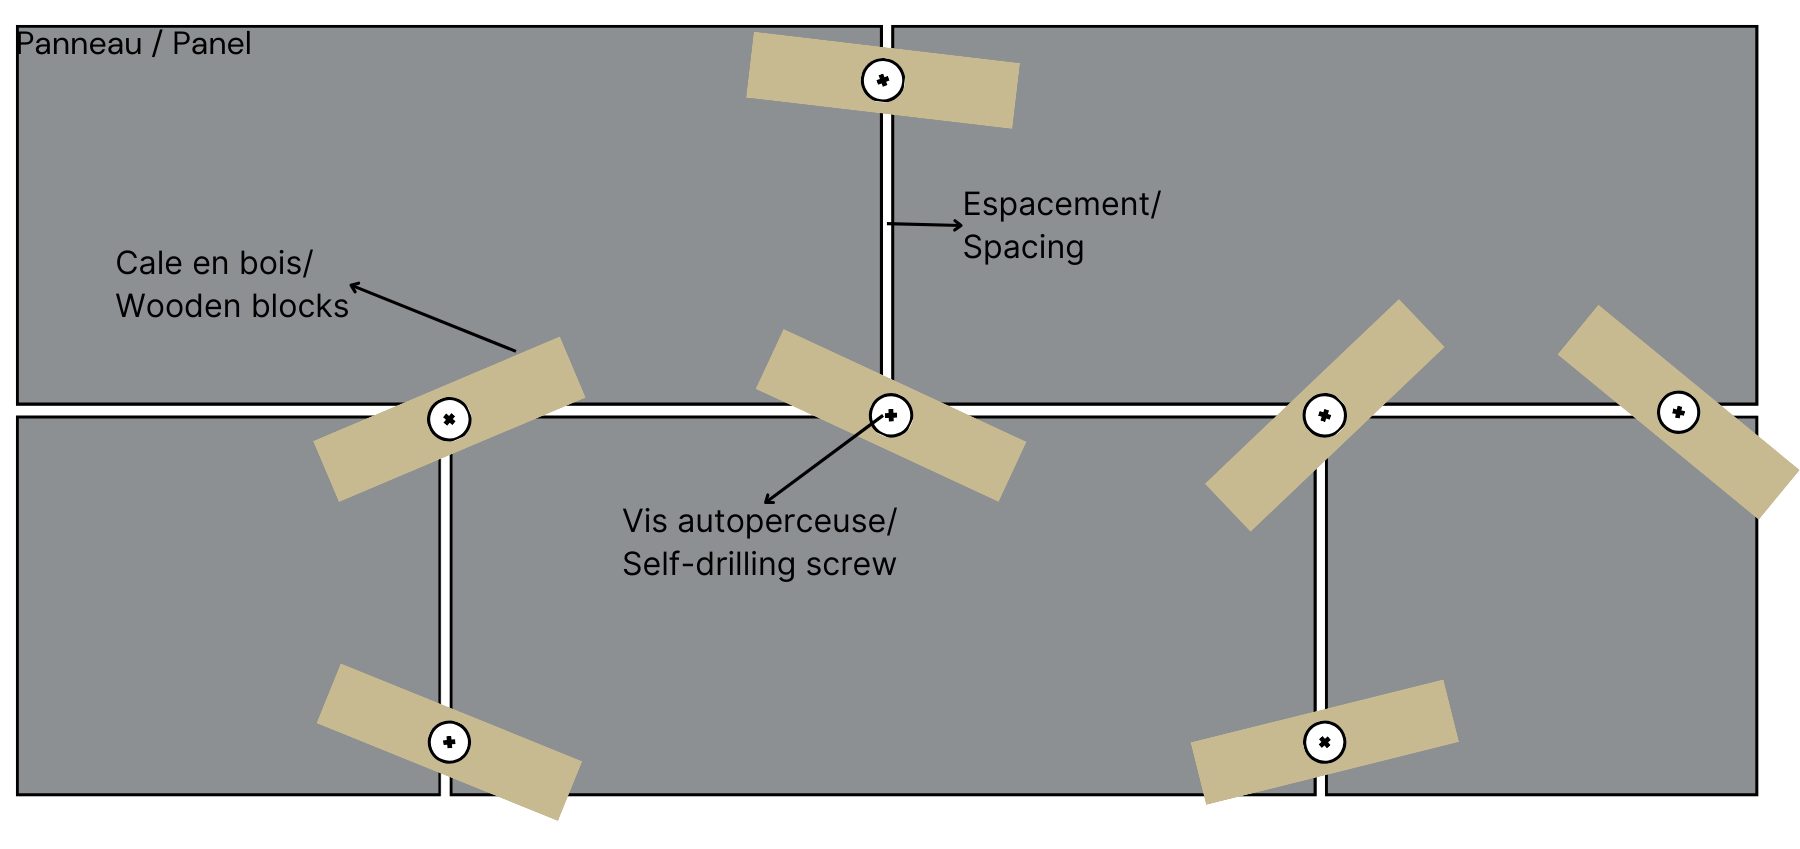
Option #2: screwing
Recommended for Concrete Textured Surface TSW and Textured Metal TSW panels.
- use self-drilling screws
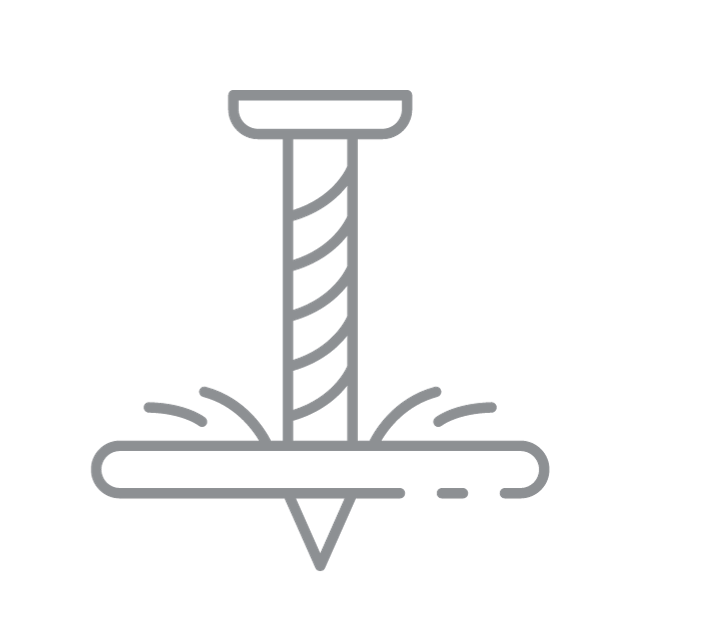
- Screw into existing holes in texture panels
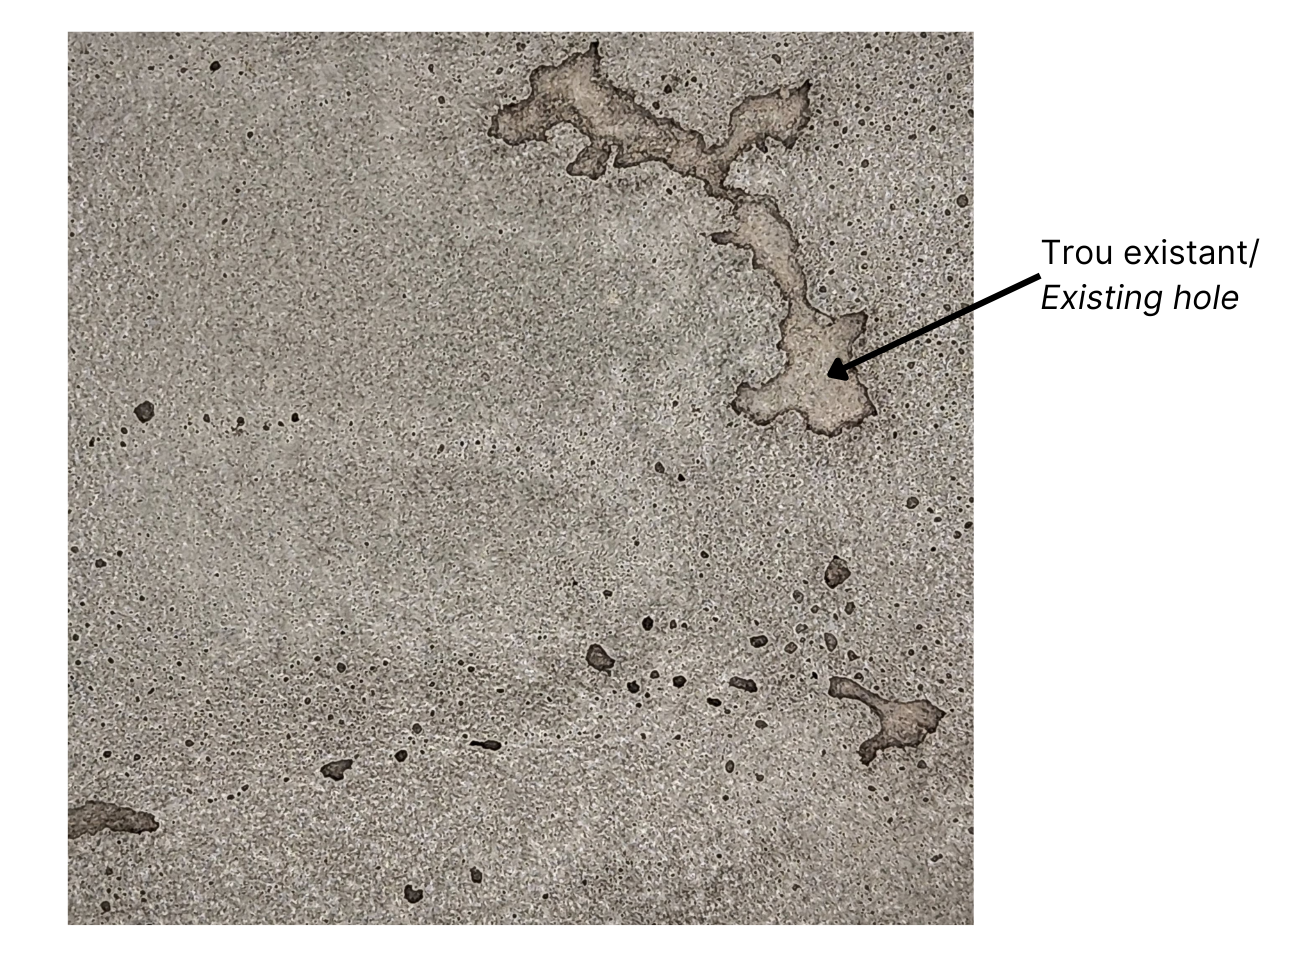
- Leave the screw heads visible

- Remove them once the adhesive has dried.

- Fill the screw holes with TSW Mortar (Textured Concerte Surface) or Paint touch-up (textured Metal).
Option #3: nailing
- use finishing nails (18 Ga)
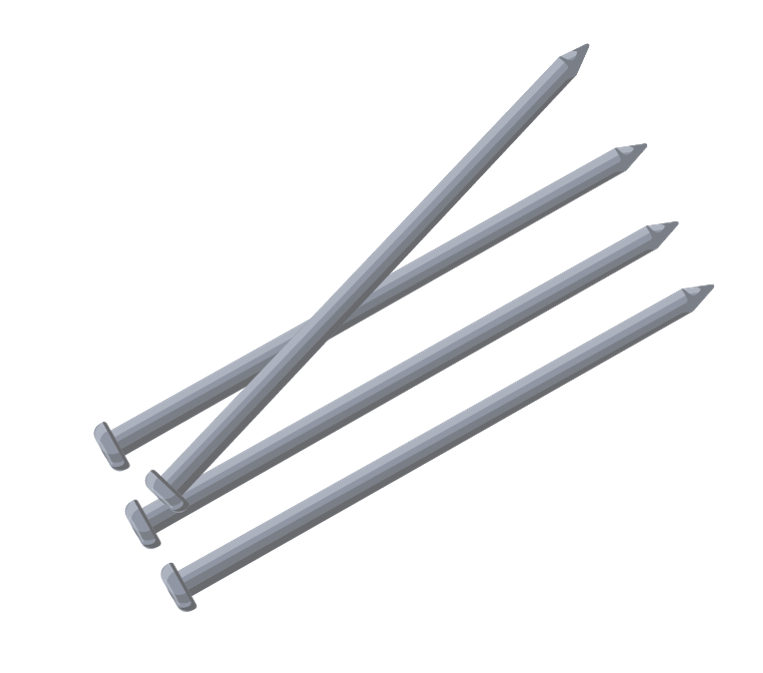
- Nail into existing holes in texture panels

- Put the correct pressure on the gun.

- If necessary, mask the nail heads with TSW mortar or touch-up paint (Metallic Finish).
- Minimum: 2 people

- Place each panel - finished side down - on smaller plywood (backing)
- Raise the panel horizontally to the ceiling.
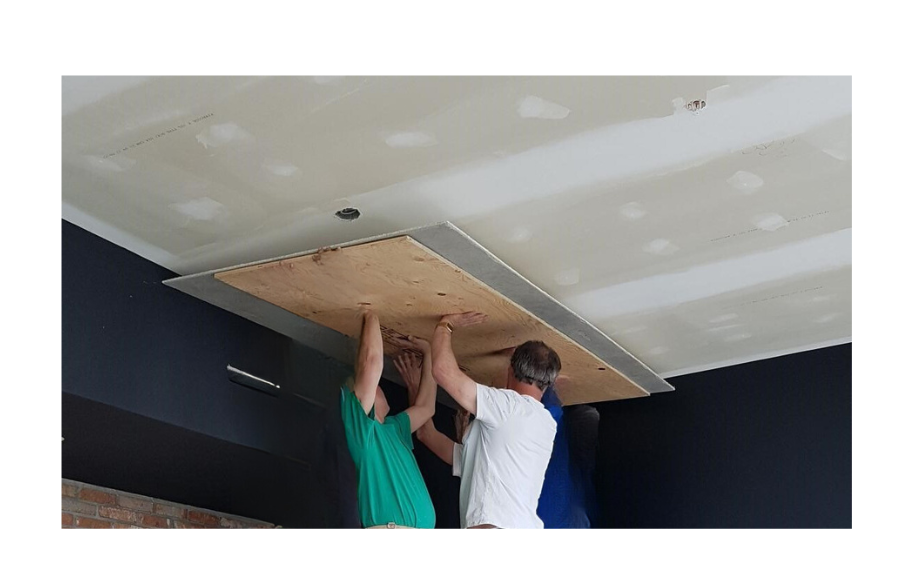
- Glue and screw the panel
Concrete Textured Surface panels must not be installed on supports exposed to intense heat of more than 200°C (392°F). For a fireplace surround installation, it is recommended to refer to the fireplace manufacturer's recommendations for the list of recommended materials.
Here are other recommendations:
- The heat coming from the fireplace must not directly lick the concrete skin.
- There must either be a baffle or the concrete skin must be installed at least 16” from the upper edge of the fireplace window.
It is important to note that you should avoid using metallic Surface panels as heat could damage the color of these panels.
Millimeter Concrete Surface can be applied around your fireplace.
No, The Surface Wizard products cannot be installed outdoors. They are made for interior application only!
It is important to use a construction adhesive that is not water-based to install the panels.
The Surface Wizard recommends using Adbond Extreme Adhesive 5692 to secure panels to a substrate.
It is available to order here.
Never use adhesive cement!